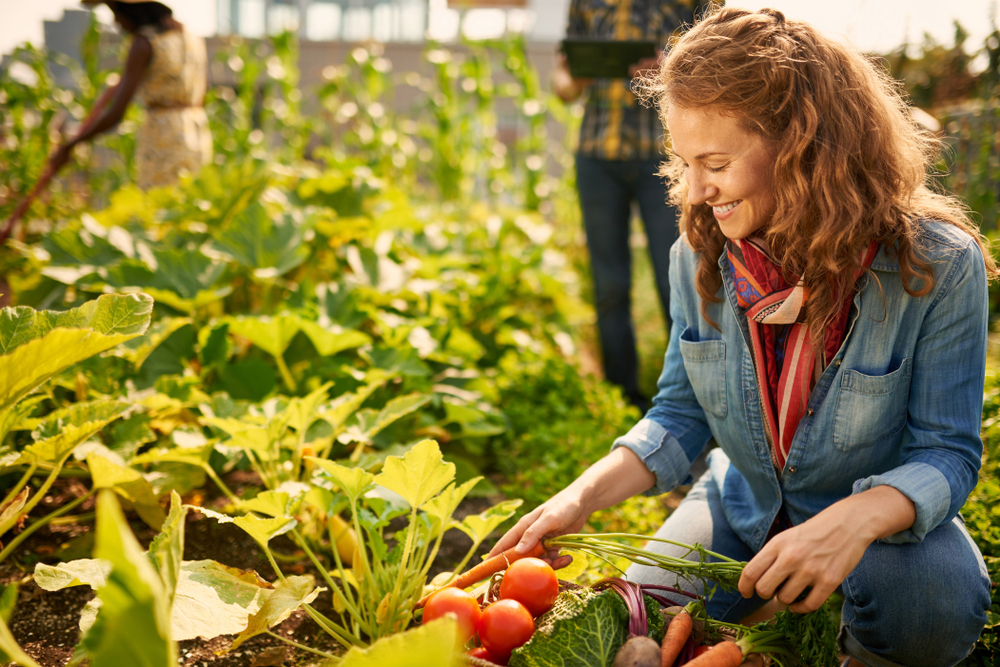
A productive vegetable garden can create a problem that is surprisingly easy to underestimate: sometimes the harvest arrives much faster than a household can eat it. One week you are waiting impatiently for the first tomato to ripen, and a few weeks later the kitchen counter is covered with tomatoes, zucchini seem to appear every morning, green beans need picking again, herbs are growing faster than you can cook with them, and several cucumbers are approaching the point where they should have been harvested yesterday.
That abundance is one of the best parts of growing food, but it can also become waste if there is no plan for what happens after harvest. Fresh vegetables do not all store the same way, and simply placing everything in the refrigerator rarely solves the problem. Lettuce may last only a short period even under good conditions, while properly cured onions or winter squash can remain useful for months. Tomatoes can be frozen easily for cooked dishes, herbs can be dried or frozen, and vegetables such as green beans, carrots, broccoli, and peas can often be frozen successfully after the correct preparation.
Preserving food does not mean you need to turn the kitchen into a commercial canning operation. Some of the easiest methods require little more than a freezer, dehydrator, refrigerator, or cool storage space. More advanced techniques such as shelf-stable canning and fermentation require closer attention to food-safety instructions, but they can still become manageable household routines when research-tested recipes are followed carefully.
The most useful approach is to match the preservation method to both the crop and the way your household actually eats it. Freezing tomatoes makes sense if you regularly cook sauces, soups, or stews, while drying them may be more useful if you want concentrated flavor for winter cooking. A large basil harvest might become dried herbs, frozen leaves, or prepared pesto depending on what you are most likely to use. Cucumbers may be best eaten fresh, refrigerated as quick pickles, or fermented using a tested method rather than frozen, because freezing dramatically changes their crisp texture.
Timing is equally important. Preservation works best when produce is still in good condition. Waiting until vegetables are soft, moldy, badly bruised, or beginning to spoil does not make the preservation process more economical; it simply starts with inferior raw material. Harvest carefully, sort immediately, eat damaged produce first when it is still safe and usable, and preserve the highest-quality surplus before deterioration begins.
The following ten methods range from extremely simple freezer techniques to more involved canning and fermentation. Together, they provide a practical system for making more of the food you already worked hard to grow.
1. Freeze Vegetables in Meal-Sized Portions
Freezing is one of the most useful preservation methods for beginner gardeners because it requires less equipment than canning and works well for many common vegetables. Green beans, broccoli, cauliflower, peas, carrots, spinach, kale, corn, and several other vegetables can maintain good quality in the freezer when prepared correctly. Instead of preserving an enormous amount at once, you can work in small batches every few days as the garden produces.
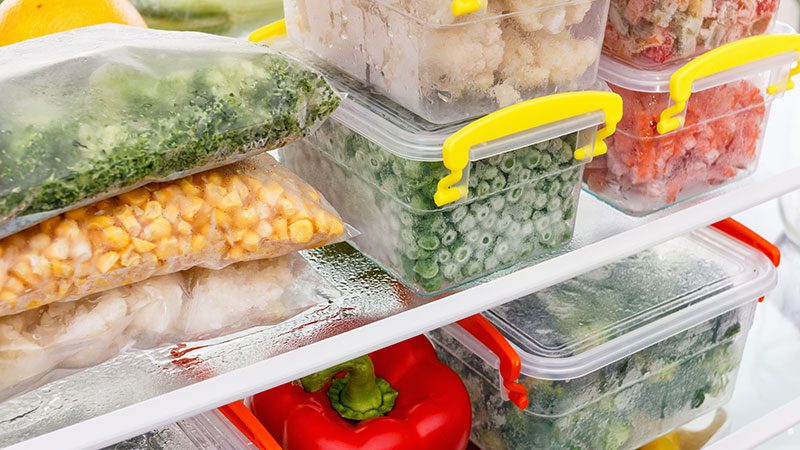
Most vegetables should be blanched before freezing. Blanching means exposing the vegetables briefly to boiling water or steam and then cooling them rapidly. This step slows enzyme activity that would otherwise continue affecting flavor, color, texture, and quality during frozen storage. The correct blanching time depends on the vegetable and sometimes on the size of the pieces, which is why it is important to use a tested blanching chart rather than treating every vegetable identically. The National Center for Home Food Preservation specifically recommends blanching for almost all vegetables destined for freezing and notes that both underblanching and excessive blanching can reduce quality.
After blanching, cool the vegetables promptly in very cold or ice water, drain them thoroughly, and package them in freezer-safe containers or bags. Removing excess surface water reduces ice buildup, while removing unnecessary air from flexible freezer bags helps protect quality. Label each package with the vegetable and date so the freezer does not gradually fill with unidentified green bags that nobody wants to open.
Meal-sized portions make the system far more useful. If your household usually uses two cups of green beans for dinner, freeze them in roughly that amount instead of creating one giant bag that must repeatedly be opened. Small packages freeze more quickly, stack more efficiently, and are easier to rotate through normal meals.
Useful Freezer Preparation Examples
| Vegetable | Typical Preparation Before Freezing | Practical Future Use |
|---|---|---|
| Green beans | Trim, cut, blanch, cool | Side dishes, soups |
| Broccoli | Cut into florets, blanch, cool | Stir-fries, casseroles |
| Carrots | Slice or dice, blanch, cool | Soups, roasted dishes |
| Peas | Shell, blanch, cool | Pasta, soups, sides |
| Spinach and greens | Wash, blanch, cool | Soups, curries, cooked dishes |
| Corn | Blanch according to form | Soups, sides, casseroles |
2. Freeze Tomatoes for Sauces, Soups, and Cooked Meals
Tomatoes are one of the easiest crops to preserve by freezing because they do not always require the preparation that other vegetables do. Freezing changes their texture considerably, so thawed tomatoes will not behave like fresh slicing tomatoes, but they remain very useful for sauces, soups, stews, curries, chili, and other cooked dishes where a soft texture is not a disadvantage.
If the garden is producing tomatoes faster than you can process them, whole tomatoes can be washed, dried, cored as appropriate, and frozen according to a reliable freezing method. Once thawed, the skins often loosen easily, making them convenient for recipes where peeled tomatoes are preferred. You can also chop or crush tomatoes before freezing if that better matches your cooking habits.
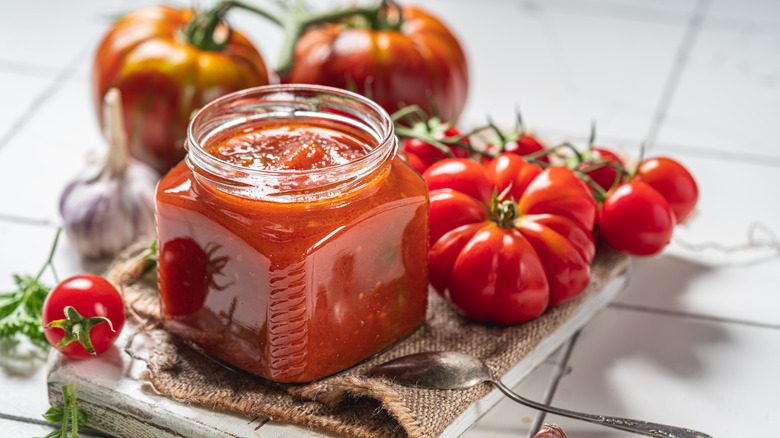
Another option is to cook the tomatoes down first. A basic unseasoned tomato base can be frozen in meal-sized containers and later turned into pasta sauce, soup, or stew. Leaving the seasoning relatively neutral makes the frozen product more versatile because you can decide later whether the tomatoes become Italian-style sauce, curry, chili, or another dish.
Freezing is particularly helpful when tomatoes are ripening faster than you have time to can them. It gives you a way to preserve the harvest without spending an entire afternoon processing jars. However, if those frozen tomatoes are later used for shelf-stable canning, a research-tested recipe specifically suited to that situation should be followed because freezing changes the tomato structure and can affect how recipes pack and heat. The National Center for Home Food Preservation advises using thawed tomatoes and all released liquid in validated sauce recipes rather than improvising canning procedures.
3. Freeze Fresh Herbs Before They Become Overgrown
Herbs are extremely productive relative to the amount of space they occupy, which also means they can become difficult to use fast enough. Basil, parsley, cilantro, dill, chives, mint, and other herbs may produce far more than a household needs at one time, particularly after repeated pruning encourages new growth.
Freezing is one of the easiest ways to deal with that surplus. The National Center for Home Food Preservation recommends washing fresh herbs, draining and drying them, then wrapping small quantities or placing them in freezer packaging. Frozen herbs generally become limp after thawing, so they are better suited to cooked dishes than to garnishing a finished plate.
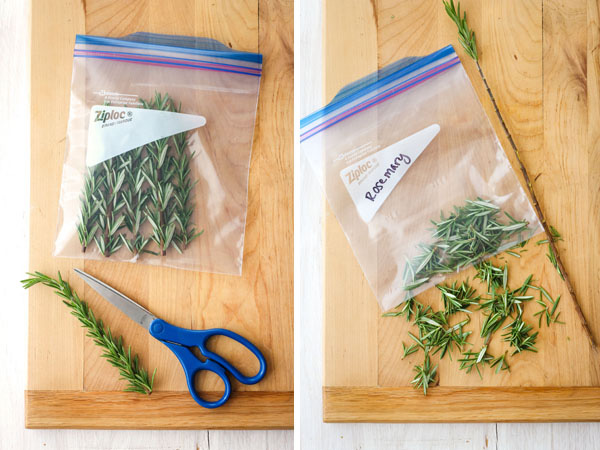
The most practical way to freeze herbs is to think about how you normally cook. Parsley or cilantro can be frozen in small portions for soups and sauces, while chopped chives can be kept in a container from which small amounts are removed as needed. Basil can be frozen for cooked sauces, although the leaves will not maintain the appearance of fresh basil after thawing.
Some gardeners also freeze chopped herbs in ice-cube trays with water or another recipe-appropriate liquid, then transfer the frozen portions into freezer bags. The method is useful when the cubes are destined for soups or sauces, but it should not be treated as a universal storage technique for herbs in oil. Homemade mixtures of raw garlic, herbs, and vegetables in oil can involve food-safety considerations and should be stored only according to validated guidance rather than assumed to be shelf-stable.
The larger lesson is to preserve herbs early. Once flowering and tough growth have dramatically changed the plant, or harvested herbs have been sitting in the refrigerator until they wilt, the quality advantage of homegrown herbs has already been reduced.
4. Dry Herbs for a Pantry Supply That Takes Almost No Space
Drying is one of the simplest ways to preserve herbs because properly dried herbs require very little storage space and do not occupy valuable freezer room. Rosemary, thyme, sage, parsley, oregano, mint, and many other herbs can be dried successfully when harvested in good condition and protected from excessive heat, moisture, and light.
The National Center for Home Food Preservation describes drying as the easiest preservation method for herbs and recommends warm, dry air with good ventilation. It notes that sun drying is not generally recommended for herbs because color and flavor can deteriorate, while controlled dehydrator drying makes it easier to manage temperature and airflow. Herbs should be dry enough to crumble readily before they are packaged, and airtight containers stored in a cool, dry, dark location help protect quality.
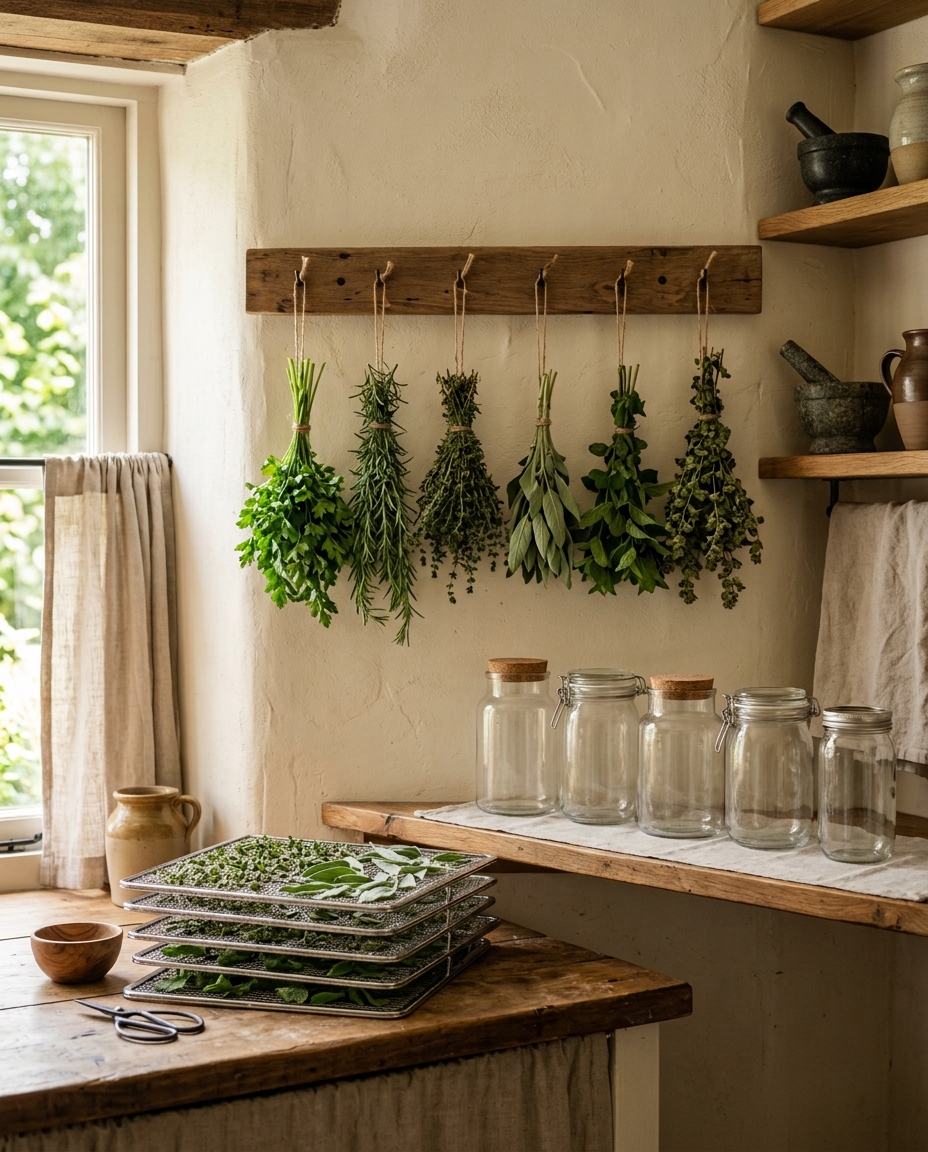
Different herbs dry at different rates because their leaves contain different amounts of moisture. Woody herbs such as rosemary and thyme are usually easier to air-dry than tender, high-moisture herbs. Tender herbs need quicker drying and stronger airflow because slow drying can allow mold to develop before the leaves are fully preserved.
Do not package herbs simply because the outside feels dry. Moisture remaining deeper in stems or thicker leaves can migrate through a closed container and create condensation. If you see moisture appearing inside a storage jar, the herbs were not dry enough and should not simply remain sealed.
Dried herbs are also more concentrated than fresh ones, so they should not necessarily be used in identical quantities when cooking. Keeping leaves relatively whole until you use them may help preserve aroma better than crushing every herb immediately after drying.
5. Dehydrate Vegetables for Soups, Sauces, and Long-Term Pantry Use
Vegetable drying is more involved than herb drying, but it can be extremely useful when freezer space is limited. Removing enough moisture dramatically reduces the volume and weight of the harvest, allowing a large quantity of vegetables to fit into a surprisingly small number of containers.
Tomatoes, peppers, mushrooms, onions, carrots, and several other vegetables can be dried using appropriate methods. Dried vegetables can later be added directly to some soups or rehydrated before use in other recipes. The National Center for Home Food Preservation notes that dried vegetables should generally reach a brittle or crisp state before packaging and that stored dried foods should be protected from heat, moisture, and light.
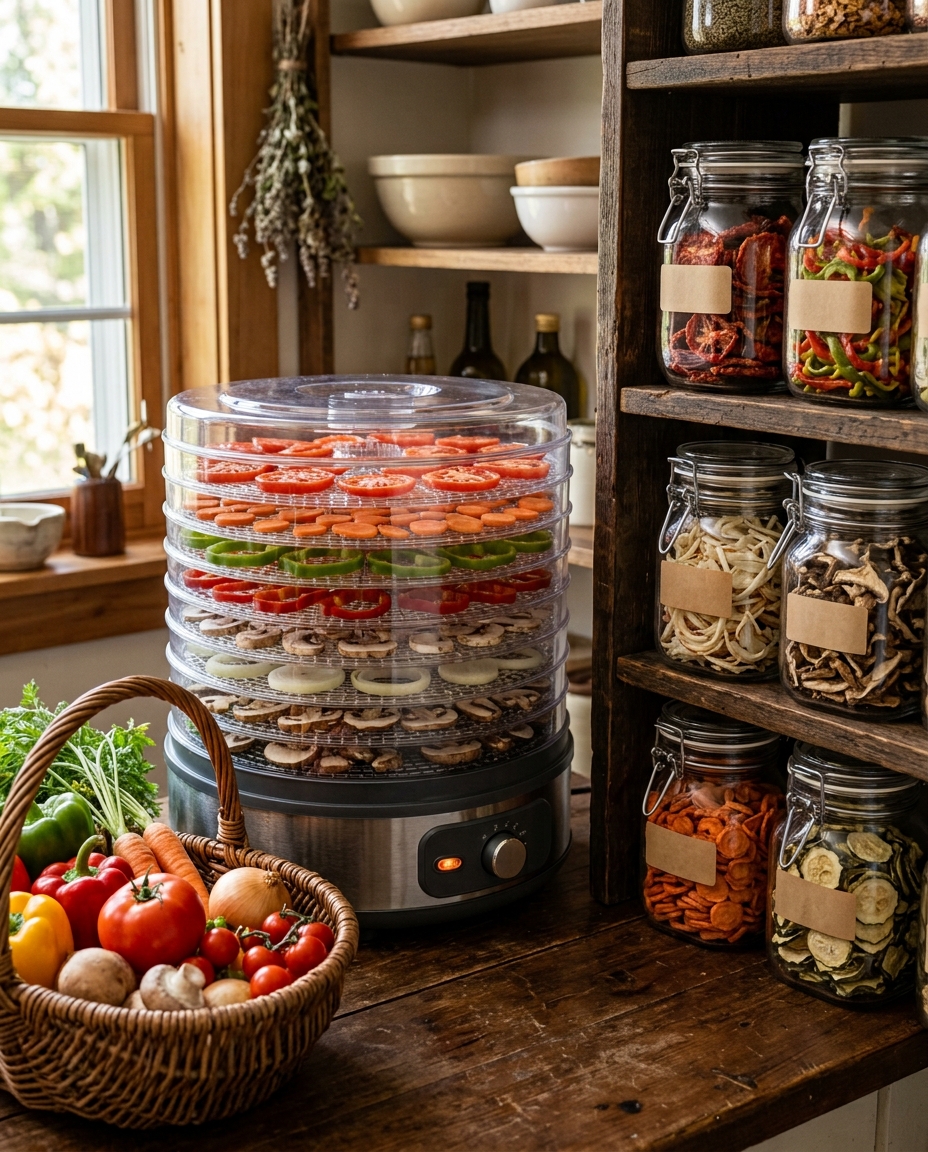
A controlled dehydrator is usually more predictable than outdoor drying because temperature and airflow can be managed. Outdoor sun drying is not recommended for most vegetables because their lower sugar and acid levels make uncontrolled drying conditions more problematic; NCHFP specifically recommends controlled indoor drying for vegetables except for limited cases such as vine-dried beans.
Uniform slicing improves results because pieces of similar thickness lose moisture at a similar rate. If one tomato slice is twice as thick as another, the thin piece may become fully dry while the thick one still contains enough moisture to spoil during storage. Some vegetables also require blanching or another pretreatment before drying, so crop-specific guidance should be consulted rather than assuming everything can be sliced and placed directly into the dehydrator.
Stored dried vegetables should be checked periodically. If condensation appears inside the container, moisture has remained or been reabsorbed, and the food needs attention before mold develops. Moldy dried food should be discarded rather than trying to salvage the unaffected-looking pieces.
6. Turn Extra Cucumbers and Vegetables Into Refrigerator Pickles
Refrigerator pickles are useful for gardeners who like the flavor of pickled vegetables but do not necessarily want to begin with shelf-stable canning. Cucumbers are the obvious choice, but depending on the tested recipe, carrots, onions, radishes, peppers, and other vegetables may also be prepared as refrigerated pickles.
The important distinction is that refrigerator pickles remain refrigerated. They are not automatically shelf-stable merely because vinegar is present. Acidity, ingredient proportions, preparation, storage temperature, and the specific recipe all matter when determining whether a product can safely remain at room temperature.
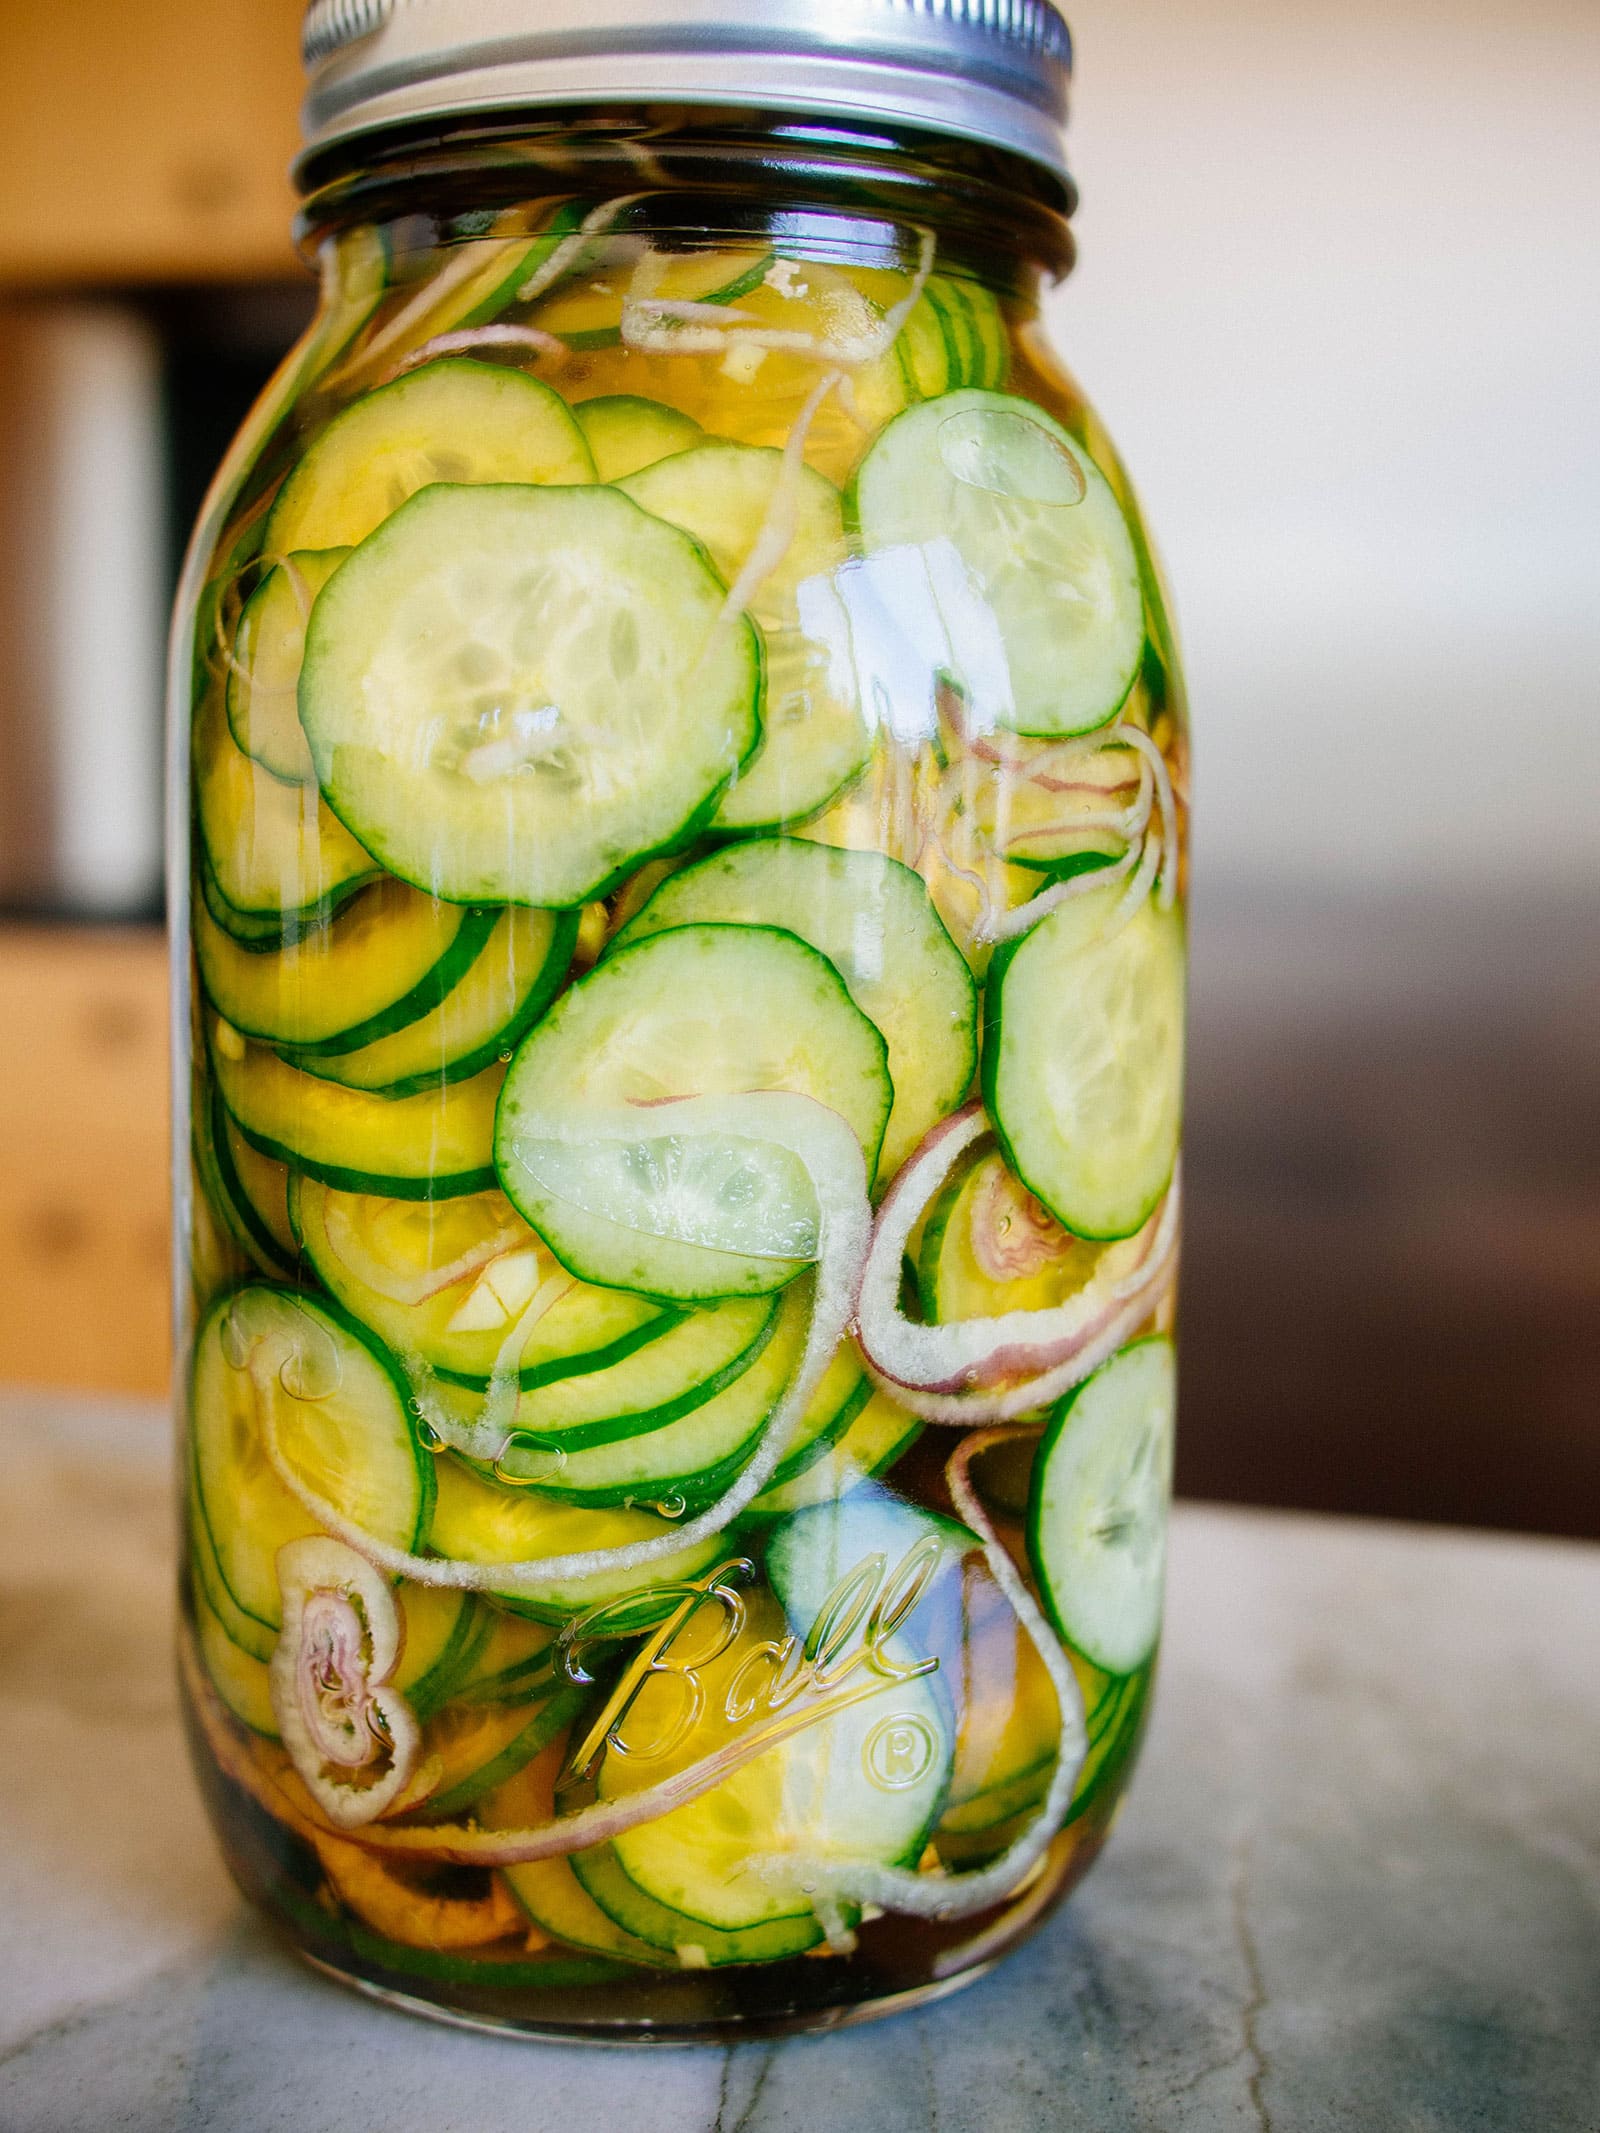
This method is particularly useful for small quantities. Instead of waiting until you have enough cucumbers for a large canning session, you can turn a handful into something that will be eaten over the following days or weeks according to the recipe’s storage instructions. That makes refrigerator pickling one of the easiest ways to handle the steady but irregular harvest that many home gardens produce.
Flavor can often be varied within the limits of an appropriate refrigerator-pickle recipe by changing herbs and spices rather than altering the fundamental vinegar-to-water or vegetable proportions. This is where many new preservers get into trouble with shelf-stable recipes: changes that seem purely culinary can alter acidity. For anything intended for room-temperature pantry storage, vinegar strength and ingredient proportions should never be improvised.
Use firm, fresh produce rather than vegetables that have already become soft. Preservation works best when it captures quality rather than trying to restore it.
7. Ferment Cabbage or Cucumbers Using a Tested Method
Fermentation can transform a large harvest into food with a completely different flavor and texture, making it particularly useful for cabbage and cucumbers. Unlike quick pickling, traditional fermentation depends on controlled microbial activity that gradually produces acid as the food ferments.
This is one preservation method where ratios and conditions should not be improvised casually. Salt plays an important functional role in traditional fermented products such as sauerkraut and brined pickles. The National Center for Home Food Preservation cautions that reducing the required salt in fermented sauerkraut or brined pickles can affect both safety and texture, and it emphasizes using tested formulations.
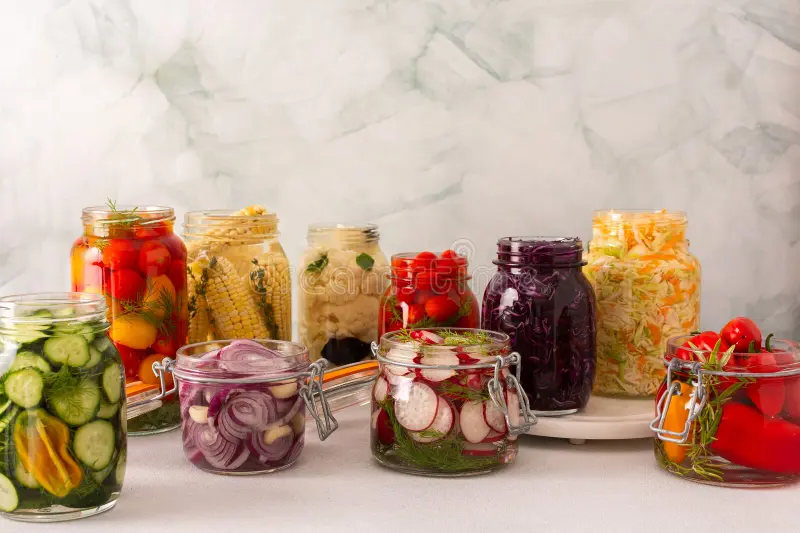
Vegetables must also be handled according to the tested method during fermentation. In sauerkraut production, for example, properly salted cabbage releases liquid and remains submerged under brine as fermentation progresses. Temperature affects how quickly fermentation develops and the final quality, which is one reason a recipe may specify both ingredients and environmental conditions. NCHFP’s tested sauerkraut method gives specific salt proportions and fermentation temperature guidance rather than relying on visual guesswork.
For a beginner, starting with a recognized sauerkraut or cucumber fermentation recipe is far more sensible than attempting experimental fermented garden mixtures. Once you understand the process, you can explore additional research-based recipes without making assumptions about acidity or salt levels.
Fermentation is especially useful when several heads of cabbage mature at the same time. Instead of trying to keep every cabbage fresh for weeks, part of the harvest can become a product that is eaten in a completely different way.
8. Use Water-Bath Canning Only for Appropriate High-Acid or Properly Acidified Foods
Water-bath canning can create shelf-stable jars that do not require freezer space, but it is not a universal method for every vegetable that comes from the garden. The safety of the process depends heavily on acidity because boiling-water temperatures are suitable for high-acid foods but are not sufficient for ordinary low-acid vegetables.
Appropriate recipes may include fruits, many pickled products, jams, relishes, and properly acidified tomato products. The exact ingredients, jar size, preparation method, processing time, and altitude adjustment all matter, so a tested recipe from a reliable preservation authority should be treated as a procedure rather than as a loose cooking suggestion.
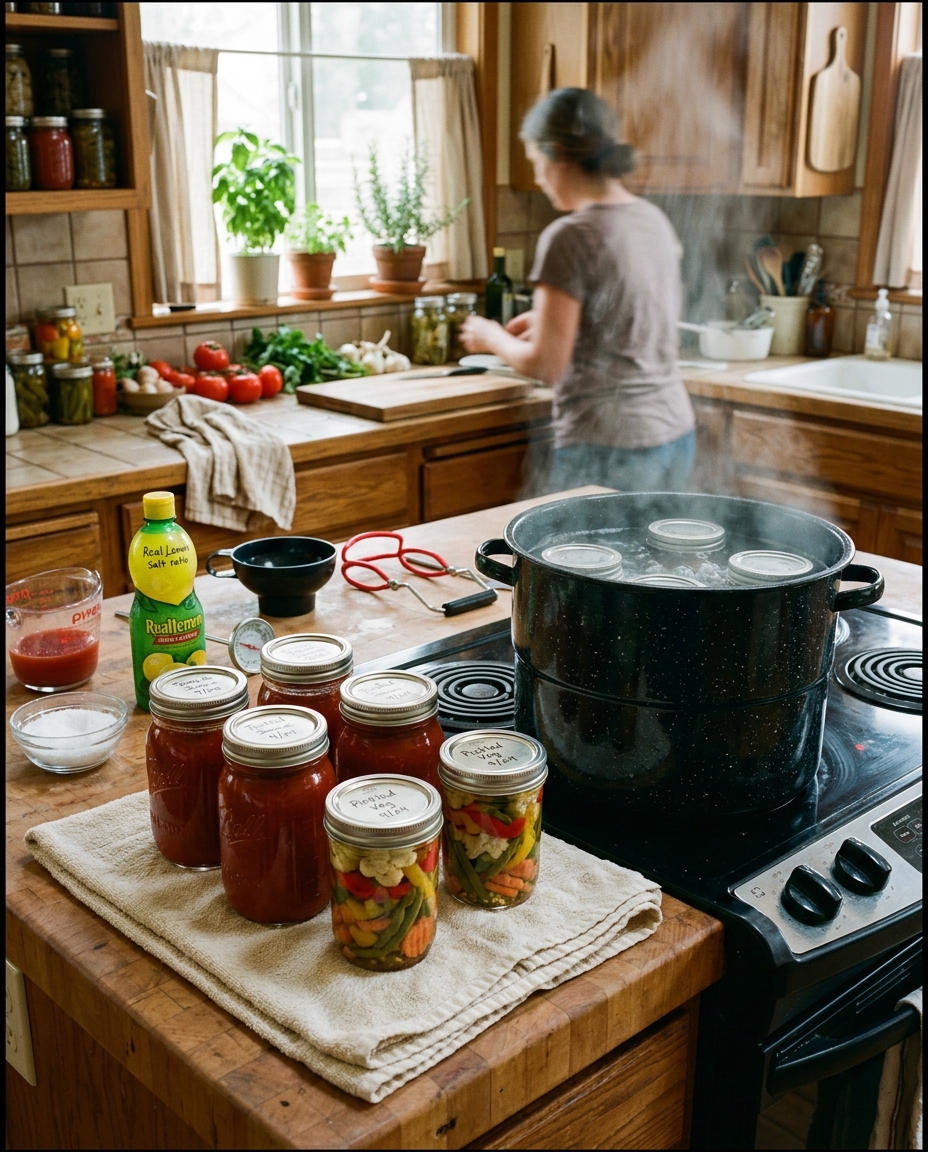
Tomatoes deserve special attention because many people assume they are automatically acidic enough for traditional water-bath canning. Current NCHFP guidance requires specified acidification for whole, crushed, or juiced tomatoes in its standard canning procedures, using measured bottled lemon juice, citric acid, or other approved acidification according to the recipe.
This is why adding extra onions, peppers, zucchini, garlic, or other low-acid vegetables to a tomato recipe simply because the jar “looks acidic enough” is unsafe reasoning. Tested formulations account for acidity, density, jar size, and heat penetration together. A recipe should not be converted into a custom pantry sauce by freely changing ingredient ratios.
Water-bath canning is still an excellent beginner preservation method when used correctly. The safest approach is to choose one tested product, such as a validated tomato sauce, jam, or pickle recipe, learn the process carefully, and expand from there rather than improvising a pantry full of experimental jars.
9. Pressure-Can Low-Acid Vegetables Only With Tested Recipes
Green beans, carrots, corn, peas, potatoes, and most other plain vegetables are low-acid foods. If they are going to be canned for shelf-stable storage, pressure canning is required because the process must reach temperatures higher than boiling water alone can provide.
The National Center for Home Food Preservation states that low-acid foods must be processed in a pressure canner to control botulism risk. The required pressure and processing time vary according to the food, jar size, packing method, altitude, and type of pressure canner, which is why a tested procedure is essential.
A pressure cooker and a pressure canner are not automatically interchangeable. Home-canning guidance specifies equipment designed and tested for canning loads, and very small pressure cookers may not provide the same processing conditions as an approved canning setup.
Pressure canning also should not be modified simply to save time. Packing more vegetables into a jar, using a larger jar than the recipe specifies, thickening a sauce, changing ingredient proportions, or reducing processing time can change how heat moves through the food. The jar may seal successfully and still not have received a safe process.
For a beginner who feels intimidated by pressure canning, there is no requirement to start there. Freezing is an excellent alternative for many low-acid vegetables. Pressure canning becomes especially valuable when freezer space is limited or when you specifically want shelf-stable vegetables for pantry storage.
Choosing Between Freezing and Pressure Canning
| Factor | Freezing | Pressure Canning |
|---|---|---|
| Equipment | Freezer and packaging | Pressure canner, jars, lids |
| Learning curve | Lower | Higher |
| Storage | Requires continuous electricity | Shelf stable after correct processing |
| Texture | Often closer to cooked fresh vegetables | Softer cooked texture |
| Batch size | Easy to preserve small amounts | More efficient in planned batches |
| Safety complexity | Relatively straightforward | Exact tested processing is essential |
10. Cure and Store Crops That Naturally Keep for Months
Not every harvest needs to be frozen, canned, dried, or pickled. Some garden crops are naturally designed for longer storage and can remain useful for weeks or months when harvested carefully and kept under suitable conditions.
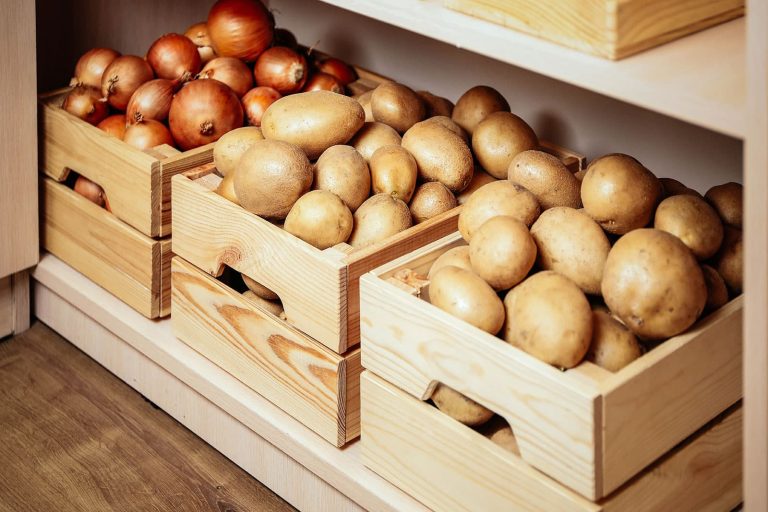
Onions, garlic, potatoes, pumpkins, winter squash, carrots, beets, parsnips, rutabagas, and similar crops can all contribute to a winter food supply, but they do not share one universal storage environment. Onions and garlic generally benefit from dry conditions, while many root vegetables store better under colder, more humid conditions. Winter squash prefers cool, relatively dry storage, while potatoes require dark conditions and a different balance of temperature and humidity.
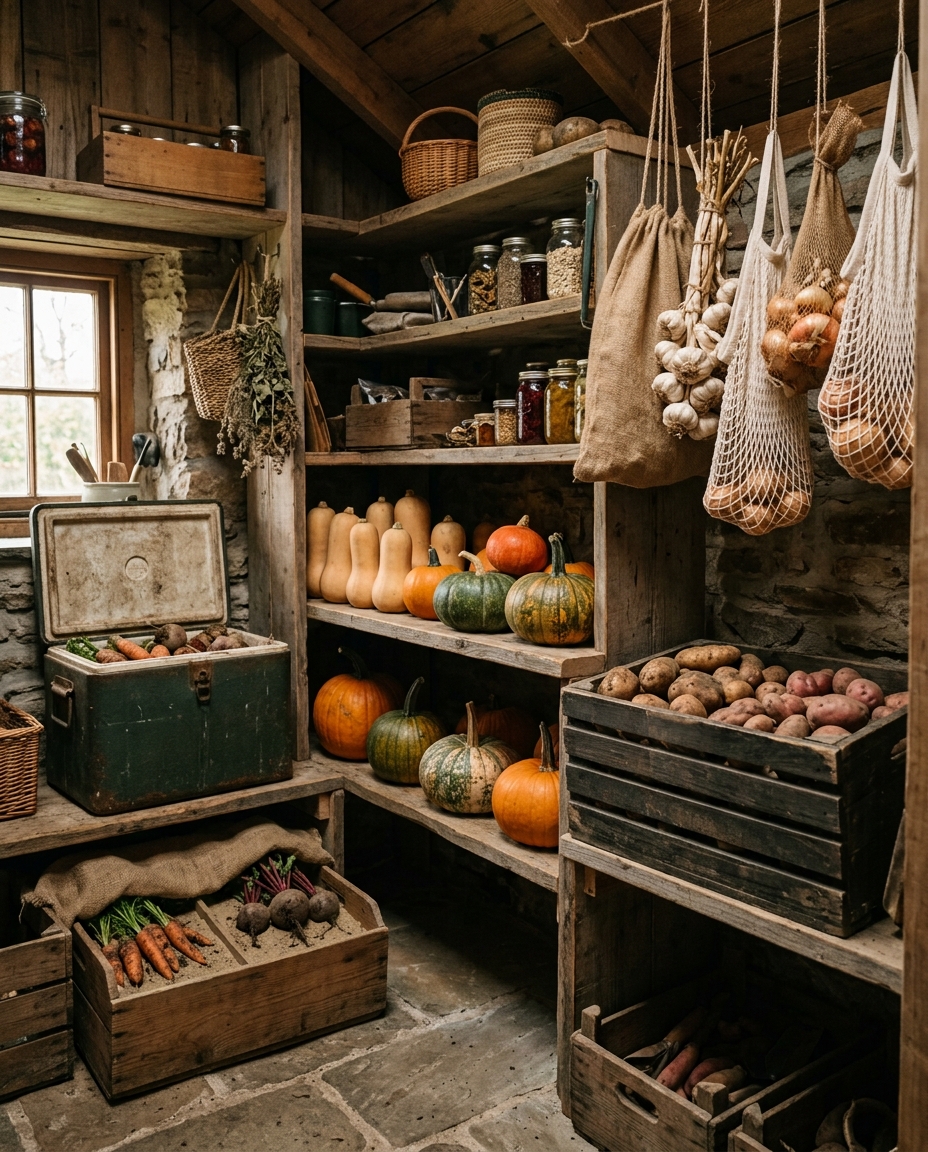
Curing is an important step for several storage crops. University of Minnesota Extension notes that onions, garlic, potatoes, sweet potatoes, pumpkins, and winter squash are among crops that may benefit from curing because the process dries outer tissues or helps small harvest wounds heal before longer storage.
Storage quality begins at harvest. Vegetables intended for long-term storage should be handled gently because cuts and bruises often become the first places where decay begins. Damaged vegetables are not necessarily waste; when still safe and sound enough to eat, they can simply be moved to the front of the kitchen queue rather than being mixed with the best storage specimens.
Temperature and humidity should be matched to the crop instead of assuming every vegetable belongs in the same cellar bin. Minnesota Extension groups long-term storage conditions into combinations such as cool and dry, cold and dry, and cold and moist, illustrating why onions, potatoes, and carrots do not necessarily belong in the exact same environment.
General Home Storage Categories
| Crop | Broad Storage Preference | Important Preparation |
|---|---|---|
| Onions | Cool/cold and dry with ventilation | Cure thoroughly |
| Garlic | Cool and dry | Cure thoroughly |
| Potatoes | Dark, cool, humid, ventilated | Cure and protect from light |
| Winter squash | Cool and dry | Harvest mature, inspect regularly |
| Carrots | Cold and moist | Remove leafy tops |
| Beets | Cold and moist | Remove most tops |
| Parsnips | Cold and moist | Store intact roots |
| Rutabagas | Cold and moist | Avoid damaged roots |
A small household does not need a traditional underground root cellar to benefit from this strategy. A suitable basement corner, insulated storage space, refrigerator zone, or other location may work for individual crops depending on the actual temperature and humidity available.
How to Decide Which Preservation Method to Use
The best preservation method is the one that matches both the vegetable and the way you normally cook. It makes little sense to pressure-can twenty jars of green beans if your family strongly prefers frozen beans, just as filling the freezer with whole tomatoes is inefficient if you normally use tomato sauce several times each week.
Texture should be considered before deciding. Freezing damages cell structures in high-water foods, which is why thawed lettuce or cucumber will not maintain the crisp texture expected from fresh produce. The National Center for Home Food Preservation notes that foods such as lettuce and cucumbers generally freeze poorly when the intention is to eat them raw afterward, while vegetables normally cooked before eating often adapt to freezing much better.
Storage space matters as well. A small apartment freezer may make drying and safe canning more attractive, while a household with a large chest freezer can preserve substantial quantities without needing to learn pressure canning immediately. Electricity reliability, available pantry space, climate, time, and equipment costs should all influence the decision.
The table below provides a practical starting point rather than a rigid rule.
| Harvest | Easy Beginner Option | Alternative |
|---|---|---|
| Tomatoes | Freeze for cooking | Tested canning or drying |
| Green beans | Blanch and freeze | Pressure can with tested recipe |
| Cucumbers | Refrigerator pickles | Tested fermentation or pickling recipe |
| Basil | Freeze or dry | Use in prepared frozen sauces |
| Rosemary/thyme | Dry | Freeze |
| Peppers | Freeze or dry depending on use | Tested pickling recipe |
| Carrots | Cold storage or freeze | Pressure can with tested recipe |
| Onions | Cure and store | Freeze for cooked use |
| Garlic | Cure and store | Other validated preservation method |
| Winter squash | Cool dry storage | Cook and freeze |
Preserve What You Actually Eat
A pantry full of preserved food is not automatically evidence of successful food preservation. If nobody in the household enjoys fermented cabbage, producing ten jars of sauerkraut simply because cabbage was abundant does not reduce waste; it merely postpones it.
Before choosing a method, look at your existing meals. If you cook soup every week, frozen carrots, beans, tomatoes, and greens are likely to be useful. And if pasta sauce is common, preserving tomatoes in sauce-oriented forms makes sense. However, if dried herbs are used constantly, prioritize drying the herb harvest rather than attempting elaborate herb preserves that do not fit your cooking routine.
The same idea applies to package size. Freezing a gallon bag of peppers when you normally use half a cup at a time makes the food harder to use. Dividing the harvest into quantities that correspond to normal recipes makes it much more likely that the preserved food will leave the freezer or pantry before the following harvest season arrives.
Preservation should simplify future cooking rather than merely save food for the sake of saving it.
Process the Most Perishable Crops First
Not everything in the harvest basket has the same deadline.
Leafy greens, herbs, cucumbers, summer squash, berries, and very ripe tomatoes usually deserve attention before storage onions, potatoes, garlic, or winter squash. When several crops arrive simultaneously, prioritize according to how quickly quality will decline.
A useful harvest routine is to sort produce immediately. One group goes directly into meals for the next few days, another is prepared for preservation, and the best long-storage crops are set aside for curing or proper storage. Damaged but still usable vegetables can be cooked first rather than mixed into long-term storage.
This approach reduces the stressful feeling that everything has to be preserved on harvest day. Many durable crops can wait while the delicate vegetables receive immediate attention.
Do Not Preserve Spoilage
Preservation slows future deterioration; it does not reverse deterioration that has already occurred.
Moldy, rotten, or otherwise unsafe vegetables should not be turned into sauce, pickles, canned food, or frozen packages in an attempt to avoid waste. Starting with poor-quality produce usually creates poor-quality preserved food and can introduce additional safety concerns.
Vegetables with minor cosmetic imperfections may still be perfectly usable if the damage is superficial and the produce remains sound. The important distinction is between imperfect appearance and actual spoilage.
Long-term storage crops should be sorted particularly carefully because one decaying onion, potato, or squash can affect surrounding produce if it remains unnoticed. Inspect stored vegetables regularly rather than putting them away for several months and assuming they will remain unchanged.
How to Build a Simple Weekly Harvest Routine
The easiest way to prevent a garden harvest from becoming overwhelming is to preserve food continuously in small batches rather than waiting for one enormous end-of-season session. A few bags of blanched beans on Tuesday, a batch of dried herbs on Thursday, and several containers of frozen tomatoes on Saturday may accomplish more with less stress than trying to process the entire garden at once.
A weekly routine also lets you harvest vegetables when they are at their best. Beans do not have to become tough while waiting for enough to justify a giant preservation session, and herbs can be cut before flowering or deterioration changes their quality.
Keep freezer bags, labels, clean storage containers, and basic preservation tools somewhere easy to reach. Reducing the amount of setup required makes it much more likely that an unexpected harvest will actually be processed instead of sitting on the counter until tomorrow.
A simple record can also help. Writing down how many bags of beans, jars of pickles, or containers of tomatoes you preserved makes it easier to adjust the following year’s planting. If half the zucchini remained uneaten but every frozen tomato disappeared before winter ended, that information should influence what you grow next season.
Freezing vs. Drying vs. Canning vs. Fresh Storage
Each method solves a different problem, and there is no reason a productive garden has to rely exclusively on one.
| Method | Best Advantage | Main Limitation | Good Beginner Uses |
|---|---|---|---|
| Freezing | Simple and preserves many vegetables well | Requires freezer space and electricity | Beans, greens, carrots, tomatoes |
| Drying | Compact shelf-stable storage | Changes texture substantially | Herbs, peppers, tomatoes |
| Refrigerator pickling | Very easy small-batch method | Requires refrigeration | Cucumbers and suitable vegetables |
| Fermenting | Creates a distinct preserved food | Requires tested ratios and monitoring | Cabbage, cucumbers |
| Water-bath canning | Shelf-stable acid foods | Recipes cannot be freely altered | Pickles, acidified tomatoes, jams |
| Pressure canning | Shelf-stable low-acid vegetables | More equipment and training | Beans, carrots, corn |
| Cool storage | Minimal processing | Requires suitable conditions | Onions, garlic, squash, roots |
For most beginners, combining two or three methods is enough. A freezer handles vegetables that are easy to blanch, herbs can be dried, and naturally durable crops can be cured and stored. More technical methods can be added later once there is enough garden production to make them worthwhile.
Food-Preservation Safety Rules Worth Remembering
Home food preservation is one area where creativity has limits. Cooking recipes can often be modified freely, but shelf-stable preservation methods depend on acidity, heat penetration, salt concentration, container size, processing time, and other factors that may not be visible simply by looking at the finished food.
Low-acid vegetables intended for shelf-stable canning need pressure canning with a tested process. Properly acidified or naturally high-acid foods may be suitable for boiling-water canning when a validated recipe specifies that method. Fermented products should use tested salt and ingredient proportions, while dried foods must reach the dryness appropriate to the product before sealed storage.
Avoid relying on methods simply because older relatives used them successfully, a social-media video looks convincing, or jars sealed after processing. A sealed lid does not prove that a canning process destroyed dangerous microorganisms.
Reliable preservation guidance from sources such as the National Center for Home Food Preservation and university Cooperative Extension programs is particularly useful because their recipes and processing procedures are based on research rather than anecdote.
10 Preservation Methods at a Glance
| Method | Best Harvests | Difficulty | Requires Refrigeration/Freezing |
|---|---|---|---|
| Blanch and freeze vegetables | Beans, broccoli, peas, carrots, greens | Easy | Yes |
| Freeze tomatoes | Tomatoes | Very easy | Yes |
| Freeze herbs | Parsley, basil, cilantro, chives | Very easy | Yes |
| Dry herbs | Rosemary, thyme, sage, mint | Easy | No |
| Dehydrate vegetables | Tomatoes, peppers, onions, carrots | Moderate | No |
| Refrigerator pickles | Cucumbers and suitable vegetables | Easy | Yes |
| Fermentation | Cabbage, cucumbers | Moderate | Usually refrigerated after completion unless further safely processed |
| Water-bath canning | Tested high-acid foods | Moderate | No after safe processing |
| Pressure canning | Low-acid vegetables | Advanced beginner | No after safe processing |
| Cure and store | Onions, garlic, potatoes, squash, roots | Easy-moderate | Depends on crop |
Final Thoughts
A successful garden harvest should end with food being eaten, not with a refrigerator full of vegetables slowly deteriorating because there was no plan for them.
The easiest way to reduce waste is to stop treating preservation as a project that happens only after the garden becomes overwhelming. Build it into the growing season instead. Freeze a few servings of beans when the plants begin producing heavily, dry herbs while the leaves are still at their best, put surplus cucumbers into a refrigerator pickle recipe, and cure storage crops properly as they come out of the garden.
You also do not need to preserve everything. Fresh eating should remain the first destination for much of the harvest, and sharing surplus with friends, neighbors, or family can be more sensible than preserving food your household will never use.
For the food you do want to keep, match the method to the crop. Freezing works beautifully for many vegetables intended for cooked dishes. Drying makes herbs and certain vegetables compact and convenient. Fermentation and pickling can turn surplus produce into completely different foods, while tested canning procedures create shelf-stable pantry supplies. Crops such as onions, garlic, potatoes, carrots, and winter squash may need little more than careful harvesting, curing where appropriate, and the right storage conditions.
The goal is not to fill every jar, freezer shelf, and pantry bin simply because you can. It is to turn the food your garden produces into meals your household will still be enjoying long after the fresh harvest has ended.