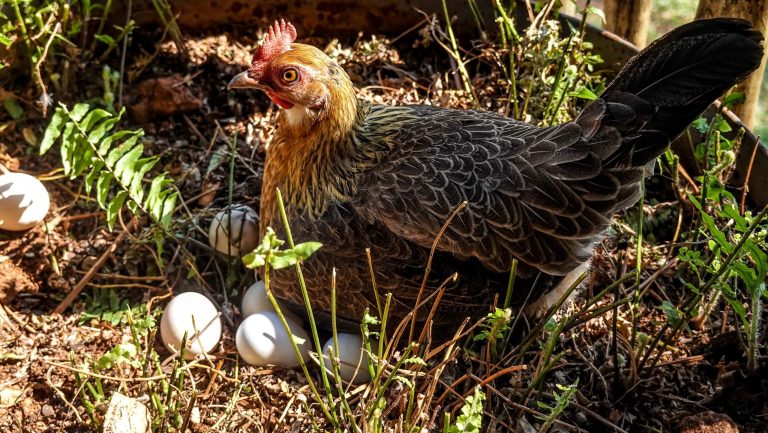
Cleaning a chicken coop produces something that can look like little more than a messy combination of droppings, feathers, shavings, and dirty bedding, but that material can become a valuable soil amendment when it is composted properly. Chicken manure contains useful plant nutrients and organic matter, which is why gardeners have used poultry manure for generations. The important distinction is that fresh manure and finished compost are not the same thing, and putting fresh chicken waste directly around vegetables is not the safest or most effective way to use it.
Fresh poultry manure is relatively concentrated in nitrogen and can also contain pathogens, excess salts, and more nutrients than plants can comfortably handle at once. Oregon State University Extension specifically advises composting manure before using it in vegetable gardens, while Penn State notes that fresh chicken manure is best composted before crop use for both environmental and public-health reasons.
Fortunately, composting chicken manure does not require complicated machinery. The process depends on the same basic ingredients as other aerobic compost: nitrogen-rich material, carbon-rich material, moisture, and oxygen. Chicken droppings supply much of the nitrogen, while coop bedding such as straw, dry leaves, wood shavings, or similar dry material contributes carbon. When those ingredients are mixed in reasonable proportions and kept moist and aerated, microorganisms begin breaking everything down and generating heat.
That heat matters. A pile that becomes hot enough and is managed properly can reduce pathogens while accelerating decomposition. Penn State Extension uses 131°F for three consecutive days as a useful rule of thumb for pathogen reduction in poultry-manure compost, while Oregon State gives a preferred composting range of roughly 130–140°F. Temperature alone does not mean the compost is finished, however; active heating is followed by additional decomposition and a curing stage before the material becomes stable enough for normal garden use.
For a backyard chicken keeper, the easiest approach is to think of the process as four stages: build the right mixture, create the conditions for decomposition, manage the hot composting stage, and then give the finished-looking material enough time to cure. Once you understand those four steps, dirty coop bedding stops being a disposal problem and starts becoming part of the garden cycle.
1. Mix the Chicken Manure With Plenty of Carbon-Rich Bedding
The first step is getting the basic mixture right. Chicken manure is rich in nitrogen, which is useful for microbial activity but can cause problems when it dominates the pile. A compost pile containing too much manure and too little carbon may become wet, compacted, strongly odorous, and prone to losing nitrogen as ammonia. Instead of decomposing into an earthy compost, it can turn into a dense, unpleasant mass.
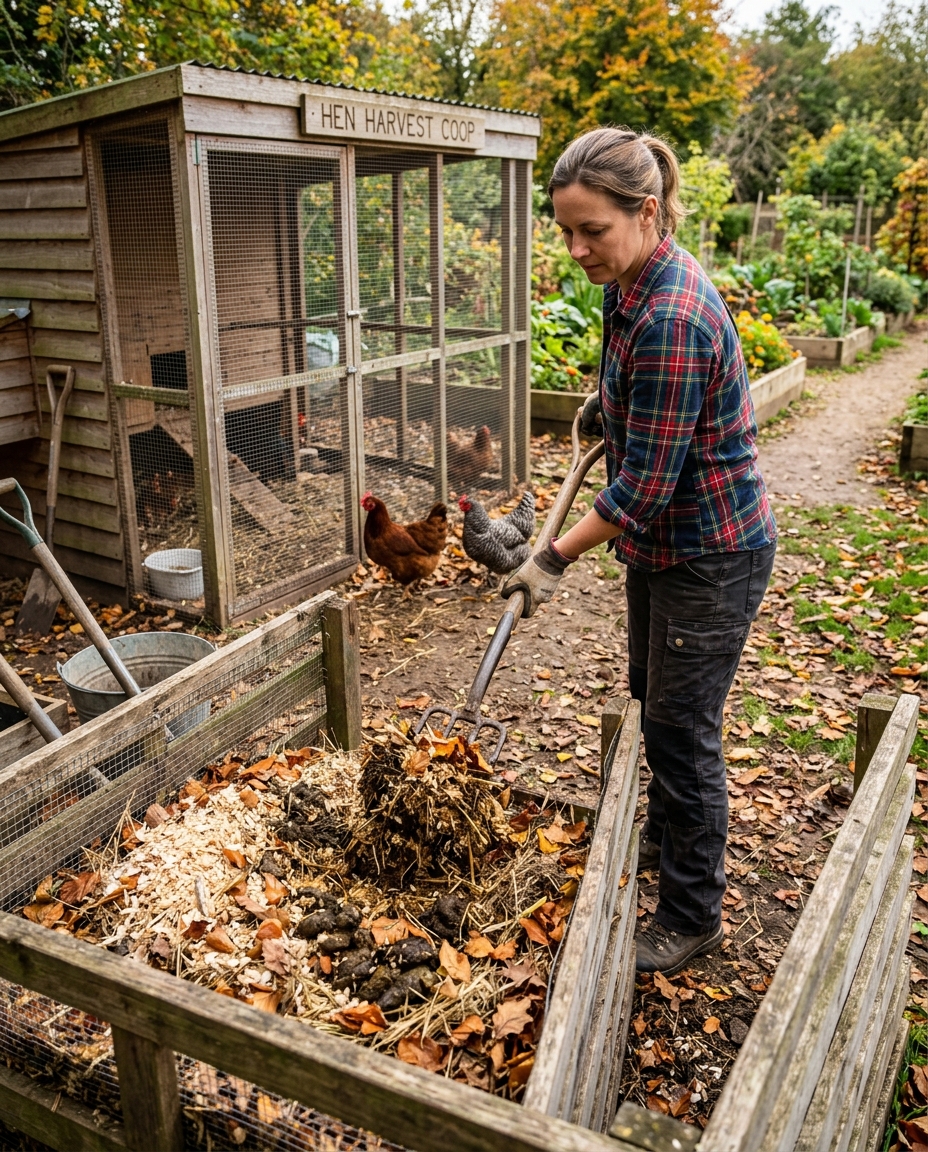
Carbon-rich materials balance that nitrogen. Straw, dry leaves, untreated wood shavings, shredded paper, and similar dry plant-based materials can all help create the structure and carbon that an active pile needs. If your coop is already bedded generously with shavings or straw, you may already be removing a useful mixture rather than pure manure. Oregon State specifically notes that manure mixed with bedding can be well suited to composting and recommends roughly one part manure to one part or more bedding as a practical starting point for chicken manure.
From a composting-science perspective, the ideal balance is usually discussed as a carbon-to-nitrogen ratio rather than a simple bucket measurement. University of Minnesota and Oregon State guidance place the preferred C range at approximately 25:1 to 30:1. A ratio that is much lower can lead to ammonia losses, while a pile containing excessive carbon can break down slowly and temporarily tie up nitrogen.
Beginners do not need laboratory testing every time they clean a coop, however. Your senses provide useful clues. If the pile smells strongly of ammonia, feels slimy, and contains obvious masses of wet manure, mix in more dry carbon material. If the pile remains cool for a long time despite adequate moisture and contains mostly dry shavings or straw, there may be too much carbon or simply not enough overall material.
Mixing is preferable to creating thick alternating layers. A dense layer of manure topped by an equally dense layer of straw can still limit airflow and decompose unevenly. Blending the materials distributes moisture and nitrogen throughout the pile and gives microbes access to both ingredients.
Good Carbon Materials to Keep Near the Coop
| Carbon-Rich Material | Why It Can Be Useful |
|---|---|
| Dry autumn leaves | Readily available and easy to mix |
| Straw | Adds carbon and creates air spaces |
| Untreated wood shavings | Often already present in coop bedding |
| Shredded plain cardboard | Useful when mixed thoroughly |
| Shredded paper | Can supplement other dry material |
| Dry plant debris | Uses another garden waste stream |
Avoid assuming that more manure means better compost. The objective is not to produce the strongest possible fertilizer. The objective is to create a stable organic amendment that can be handled and applied safely.
What About Sawdust?
Sawdust is extremely carbon-rich and can be useful in a manure pile, but large quantities may slow decomposition. University of New Hampshire Extension notes that manure-based compost containing a high proportion of wood shavings or sawdust can have a C ratio above 30:1, potentially making nitrogen less available while the material continues decomposing.
If your coop uses a large amount of fine sawdust, expect the composting process to take longer or balance it with additional nitrogen-rich materials when appropriate. The goal is still to create a mixed pile rather than one dominated entirely by either fresh manure or woody bedding.
2. Build a Large Enough Pile and Get the Moisture Right
Once the manure and carbon material are reasonably balanced, the next challenge is creating an environment where composting organisms can work efficiently. A tiny scattering of bedding across the ground will eventually break down, but it usually will not generate the sustained heat associated with managed hot composting.
Oregon State recommends approximately one cubic yard of material for efficient hot composting at home. That is roughly a pile about three feet in each dimension, although the exact shape does not need to be perfect. The purpose of adequate size is heat retention: the microbial activity in the center produces heat, while enough surrounding material insulates that center from the outside air.
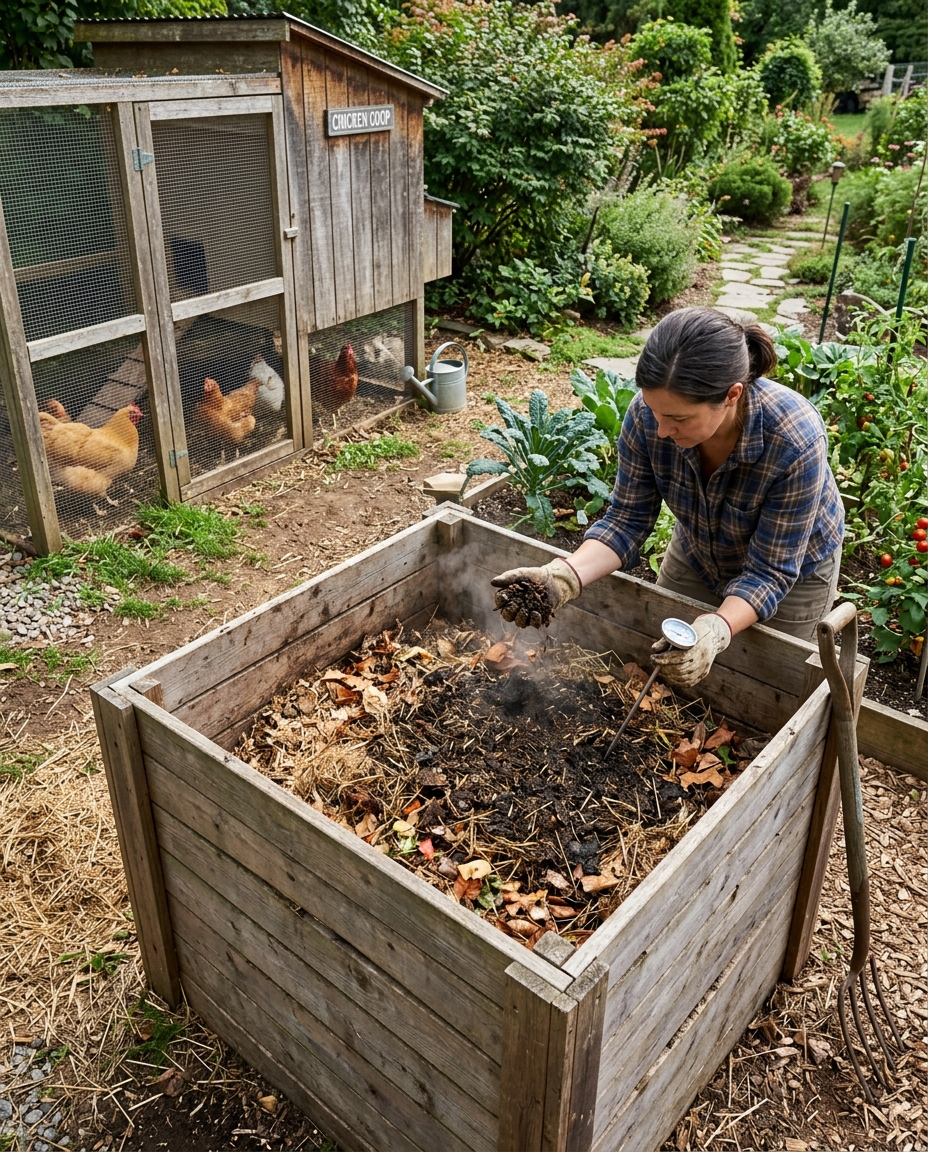
At the same time, a pile should not be packed so tightly that oxygen disappears. Composting chicken manure is an aerobic process, meaning the organisms responsible for efficient decomposition need oxygen. Compacted wet litter has fewer air spaces, which can slow aerobic decomposition and create foul odors. Turning, mixing, and using coarse carbon materials such as straw or shavings help preserve those spaces.
Moisture is equally important. A completely dry pile decomposes very slowly because microorganisms require water, while a saturated pile pushes air out of the pore spaces and can become anaerobic. Oregon State gives a preferred moisture range of around 50–60 percent, while practical Extension guidance suggests that a squeezed handful should feel damp and may release only a few drops rather than pouring water.
For a beginner, the squeezed-sponge comparison is easier than attempting to measure moisture percentage. Put on gloves, take material from inside the pile, and squeeze it. If it crumbles like dry leaves and will not hold moisture, add water gradually as you turn the pile. If water streams from the handful, the compost is too wet and needs more dry material plus additional aeration.
Rain can change the balance quickly. An uncovered pile during a period of heavy rain may become waterlogged, while a pile exposed to intense sun can dry around the outside. A compost bin with airflow or a pile protected from extreme rainfall can make management easier, but it should never be sealed completely airtight.
A Beginner’s Compost Checklist
| Condition | What You Want |
|---|---|
| Pile size | Large enough to retain heat |
| Moisture | Damp, not dripping wet |
| Texture | Mixed rather than heavily layered |
| Air | Loose enough for oxygen movement |
| Odor | Earthy/organic rather than strong ammonia or rot |
| Drainage | No standing water beneath the pile |
Choose the Compost Location Carefully
Place the pile somewhere convenient enough that you will actually manage it, but keep it separate from clean feed storage and places where fresh produce is handled. The site should drain well so manure-contaminated runoff does not move toward vegetable beds, wells, streams, or other water sources.
Penn State recommends keeping manure away from fresh-produce growing and handling areas and preventing runoff or drift where possible. Oregon State likewise recommends storing manure compost away from water sources and protecting it from heavy rainfall.
Convenience still matters. If the compost pile is an exhausting distance from both the coop and garden, routine turning and moisture checks are more likely to be neglected. A nearby but properly separated location usually creates the best balance between biosecurity and practical daily management.
3. Let the Pile Heat Up, Monitor It, and Turn It Thoroughly
This is the stage where a pile of dirty bedding begins behaving like active compost. When the carbon, nitrogen, moisture, oxygen, and pile size are reasonably balanced, microbial activity increases and the internal temperature begins to rise.
A long compost thermometer makes this process much easier to monitor because the outside of the pile tells you very little about what is happening in the center. Oregon State notes that well-managed chicken manure and bedding may rise into roughly the 130–160°F range, while its broader composting guidance identifies about 130–140°F as a preferred range for rapid decomposition.
For pathogen reduction, Penn State recommends treating at 131°F for three consecutive days as a useful benchmark for poultry-manure compost. The important detail is that all material needs adequate exposure to the hot zone, which is why turning matters. Material sitting on the outside edge remains much cooler than material in the middle, so a pile that reaches the correct temperature only at one center point has not necessarily heated every part equally.
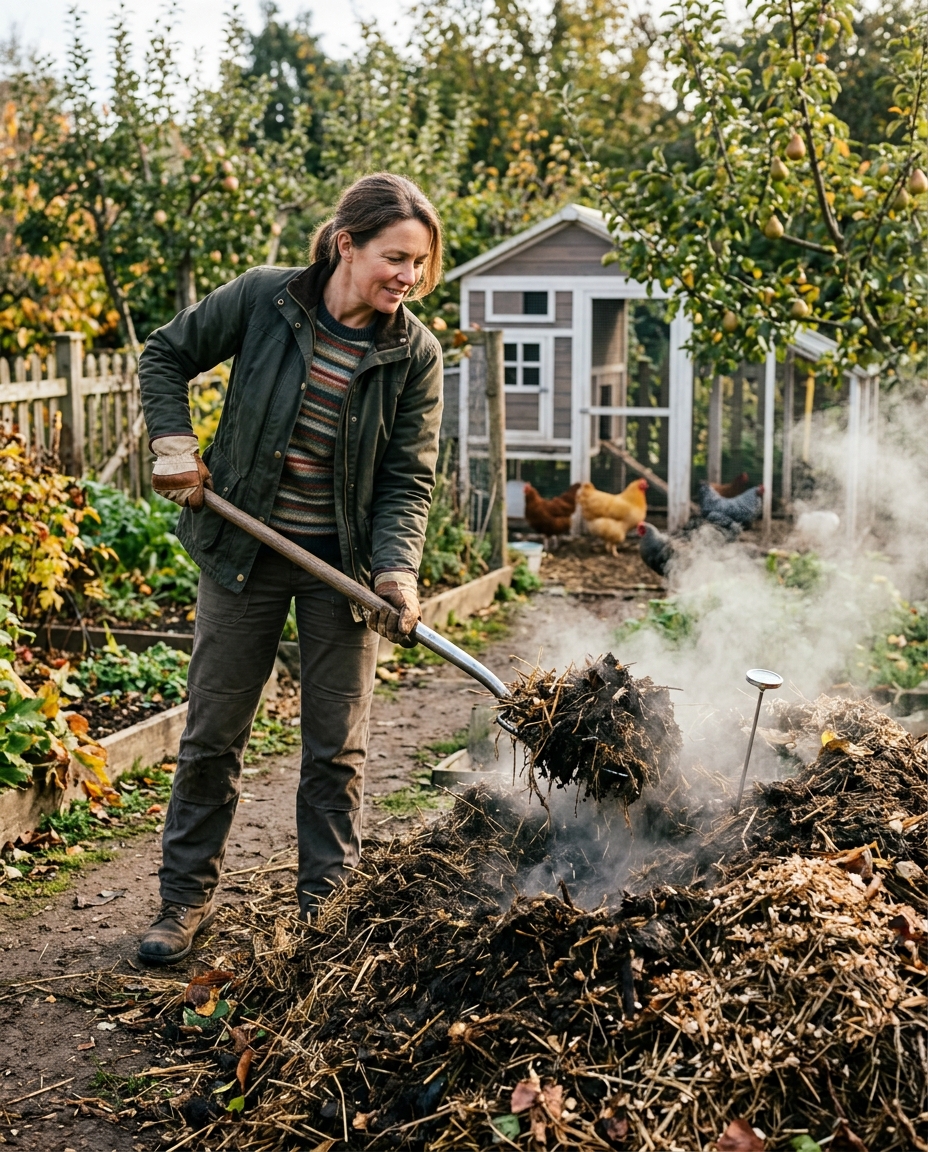
When the temperature peaks and begins falling, turn the pile thoroughly. Move the outer material toward the center and bring center material outward. This introduces fresh oxygen, redistributes moisture, and exposes material that was previously on the cooler edges to the hotter center during the next heating cycle. Penn State notes that turning often causes microbial activity and temperature to rise again, which is exactly what you want during active composting.
Oregon State suggests turning poultry manure and bedding again once temperatures have dropped below roughly 110°F to encourage reheating. Another OSU manure-composting guide recommends turning several times during the first month.
Do not become obsessed with forcing the pile to remain extremely hot indefinitely. Temperatures far above the useful composting range are not necessarily better. Oregon State notes that excessively high temperatures can slow desirable decomposition processes, with its manure-composting publication identifying 130–140°F as the preferred range.
What the Temperature Can Tell You
| Temperature Pattern | Likely Meaning |
|---|---|
| Never heats | Pile may be too small, dry, carbon-heavy, or inactive |
| Heats rapidly | Active microbial decomposition |
| Peaks and starts falling | Often time to check moisture and turn |
| Reheats after turning | Plenty of active material remains |
| No longer reheats after turning | Active stage may be largely complete |
| Extremely hot for prolonged periods | Check conditions rather than assuming hotter is always better |
If the Compost Smells Bad
A healthy active compost pile can certainly have an earthy manure smell, particularly immediately after turning, but persistent rotten odors usually indicate a problem. Too much moisture and insufficient oxygen are common causes, while a sharp ammonia odor may indicate excess nitrogen.
If the pile is wet and compacted, turn it thoroughly and mix in dry carbon material such as straw or leaves. If it smells strongly of ammonia, adding more carbon can help capture nitrogen that might otherwise be lost to the atmosphere. University of Minnesota notes that C ratios below about 20:1 can cause nitrogen loss as ammonia and recommends adding carbon materials in that situation.
If the pile refuses to heat despite being large enough, inspect the opposite problem. Very dry material needs moisture, while a pile dominated by wood shavings or other carbon may not contain enough nitrogen to sustain rapid microbial activity.
Troubleshooting compost becomes much easier when you think about four variables rather than searching for complicated recipes: carbon and nitrogen, moisture, oxygen, and size.
4. Let the Compost Cure Before Using It in the Garden
One of the most common composting mistakes is assuming that the process is finished as soon as the pile stops looking like manure. A pile can complete its strongest heating phase while the organic material is still unstable and continuing to break down.
Curing is the quieter stage after hot composting. The temperature gradually falls toward ambient conditions, easily recognizable manure and bedding disappear, and the compost becomes darker, crumbly, and more uniform. During this period, slower biological processes continue stabilizing the material.
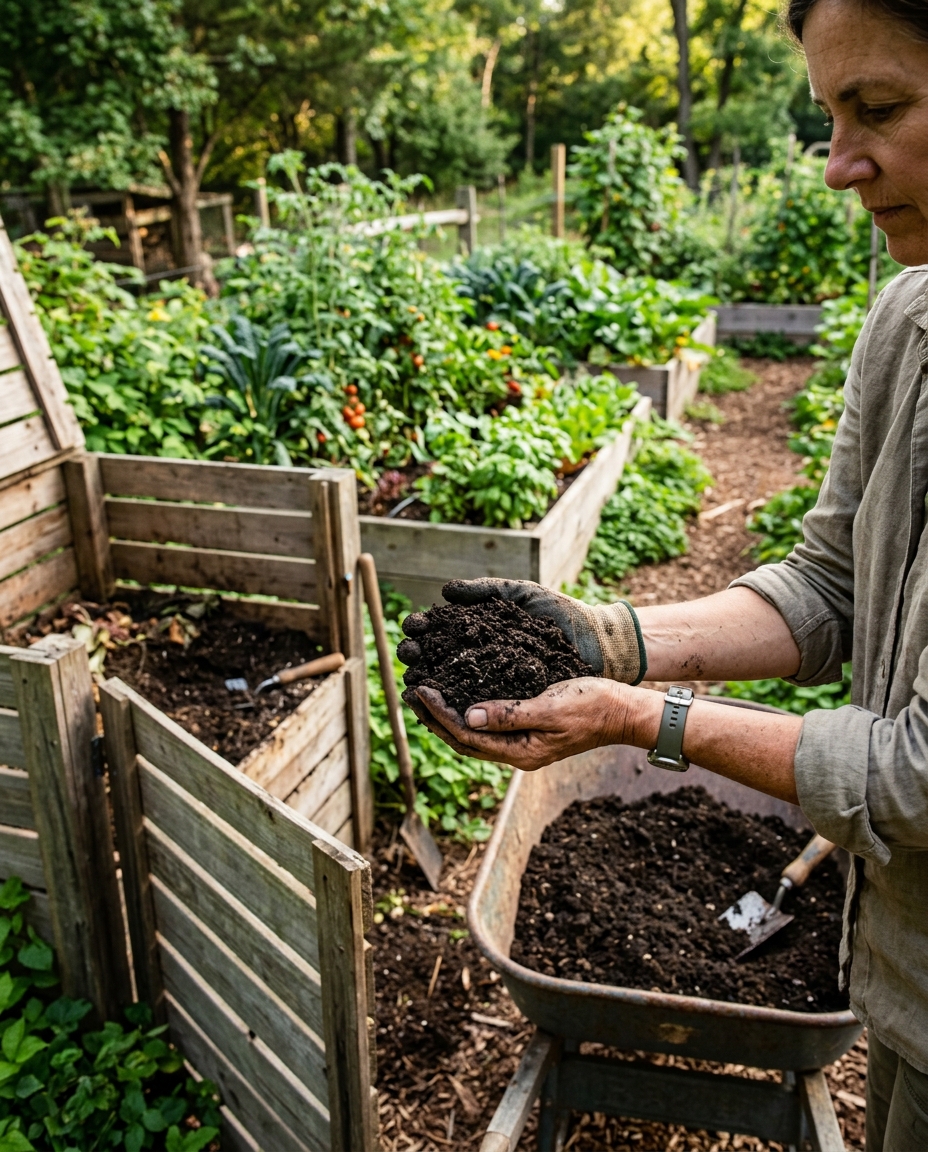
Oregon State notes that compost is mature when it does not reheat after it is moistened and turned and when the original ingredients are difficult to recognize. Another OSU manure-composting guide recommends allowing compost to cure and age for approximately two to six months after the active stage before garden use.
The smell is also useful. Finished compost should smell earthy rather than strongly of manure or ammonia. Pieces of coarse wood may still remain if the original bedding was woody, but obvious masses of fresh chicken droppings indicate that decomposition is incomplete.
Curing is particularly important for gardeners because unfinished material can continue consuming oxygen and nitrogen as it decomposes in the soil. Heavily wood-based unfinished compost can temporarily immobilize nitrogen, while inadequately composted manure still raises food-safety concerns.
Once the compost is mature, use it as a soil amendment rather than assuming more is always better. OSU recommends a relatively modest surface application of approximately ½ to 1 inch of cured manure compost in garden beds. Manure-based compost can be nutrient-rich, and repeated heavy applications can cause nutrients—particularly phosphorus—to accumulate beyond what plants actually need.
Signs Your Chicken Manure Compost Is Approaching Maturity
| Sign | What It Suggests |
|---|---|
| Dark brown appearance | Advanced decomposition |
| Crumbly texture | Organic materials are breaking down |
| Earthy smell | Manure odors have largely disappeared |
| Original ingredients hard to identify | Decomposition is well advanced |
| Pile remains cool after turning | Active heating has mostly finished |
| Does not reheat after moisture is corrected | Compost may be mature |
What If You Are Not Sure It Compost-Heated Properly?
If you did not monitor temperature and cannot confidently say the manure went through a managed hot-composting process, be more conservative about using it around edible crops. Simply leaving manure in a heap until it looks old is not the same as controlled composting. University of Minnesota explicitly notes that aged manure should not automatically be treated as composted manure.
Raw-manure food-safety guidance uses long intervals between manure application and harvest because pathogens may remain present. Oregon State cites waiting at least 90 days before harvest for crops that do not contact soil and 120 days for crops such as lettuce, onions, and beets that do, while Penn State recommends maximizing the interval and gives a 120-day benchmark for raw manure in produce systems.
For a backyard gardener, the simpler approach is to avoid rushing uncertain material onto vegetables that will soon be eaten. Continue composting and curing it rather than trying to save a few weeks.
Chicken Manure Compost vs. Fresh Chicken Manure
Fresh manure and finished manure compost behave very differently in the garden. Fresh chicken manure contains readily available nutrients but can be too concentrated for direct contact with plants, may contain pathogens, and can introduce large nutrient loads very quickly. Finished compost contains more stabilized organic matter and releases much of its fertility more gradually.
That difference is particularly important in vegetable gardens. Fresh manure is not simply a stronger version of compost. It is an unfinished biological material that needs to be managed differently. This is why both Oregon State and Penn State recommend composting poultry manure before routine crop use.
| Fresh Chicken Manure | Finished Chicken-Manure Compost |
|---|---|
| Strong manure odor | Earthy smell |
| High immediate nitrogen load | More stabilized nutrients |
| May contain pathogens | Proper composting reduces pathogen risk |
| Can damage sensitive plants | Better suited as soil amendment |
| Recognizable droppings/bedding | Dark, decomposed material |
| Should be handled cautiously | Easier to use in garden soil |
The distinction is also why simply calling material “aged manure” is not enough. Material that has sat in a pile without adequate moisture, oxygen, mixing, or heat may look weathered while still being very different from intentionally managed compost.
Can You Compost Chicken Manure With the Bedding?
Yes, and in many backyard setups the bedding is actually what makes the manure easier to compost. Poultry manure is nitrogen-rich and can be wet, while straw, wood shavings, dry leaves, and similar bedding provide carbon and structure.
Oregon State specifically recommends combining chicken manure with bedding and notes that roughly equal parts manure and bedding, or even more bedding, can provide a useful starting mixture. If your coop already contains a substantial bedding layer, much of the balancing work has therefore been done before the material ever reaches the compost pile.
The type of bedding influences how quickly the pile finishes. Straw and leaves generally break down relatively readily, while coarse wood chips or large amounts of sawdust can remain visible for much longer. That does not automatically make wood bedding unsuitable, but compost containing a high proportion of woody carbon may require more time.
The practical lesson is to compost the dirty bedding and droppings together instead of trying to separate every dropping manually. Adjust the mixture only when the pile tells you something is out of balance.
Can You Put Fresh Chicken Manure Directly in the Garden?
For ordinary vegetable-garden use, composting first is the better approach. Fresh poultry manure may contain pathogens, can contain soluble salts, and has enough nitrogen to damage plants if applied improperly. Oregon State explicitly recommends composting manure before using it in vegetable gardens.
Raw-manure application also complicates food safety because enough time must pass between manure application and harvesting edible crops. This is particularly important for vegetables that touch the soil or are often eaten raw.
A gardener who already owns chickens has little reason to treat fresh manure as an emergency fertilizer. Creating a compost system near the coop turns the continuous manure supply into a more stable amendment that can be stored and used deliberately.
That also makes nutrient management easier. Instead of repeatedly dumping fresh manure into the same bed, you can apply finished compost in a controlled amount where organic matter is actually needed.
Does Chicken Manure Compost Smell?
An actively managed compost pile should not smell like a permanent pile of fresh chicken manure. Some manure odor is normal when a coop is emptied or the pile is first turned, but persistent ammonia or rotten smells are usually signs that the conditions need attention.
A strong ammonia odor often suggests there is too much nitrogen relative to carbon. Adding dry leaves, straw, shavings, or another appropriate carbon source and mixing thoroughly can help. A rotten smell often points toward excessive moisture and poor airflow, which can usually be improved by turning the pile and adding dry structural material.
Odor is therefore not only a nuisance; it is useful feedback. A well-balanced pile gradually changes from smelling like coop waste to smelling like damp soil and decomposing leaves.
If the composting area consistently smells strongly even after adjustments, inspect drainage, pile structure, and how much fresh manure is being added at one time.
Should You Keep Adding Fresh Coop Bedding to the Same Pile?
You can add fresh material during the early building stage, but continuously adding manure to one pile makes it difficult to know when any particular batch is actually finished. Every new addition effectively introduces fresh material that needs to go through the active composting and curing process.
A two- or three-bin system solves this problem elegantly. One bin receives current coop cleanings, another contains the batch undergoing active composting and turning, and a third can hold curing or finished compost.
Even two bins are useful. Once the first bin is large enough to compost effectively, stop adding fresh material and begin filling the second. The first batch can then move through heating and curing without being repeatedly contaminated with new manure.
This arrangement also makes garden planning easier because you can distinguish fresh waste from material that is approaching safe, stable garden use.
A Simple Two-Bin Chicken Compost System
The first bin functions as the active collection and composting area. Dirty bedding enters the bin, additional carbon is mixed in when needed, and moisture is adjusted until the pile becomes large enough for active heating. Once it reaches a workable volume, stop adding new manure and begin monitoring and turning it.
The second bin can then receive the next coop cleanings while the first batch finishes its active stage and moves into curing. If space allows, a third curing area is even better because finished compost can remain undisturbed while two newer batches cycle through the system.
| Area | Purpose |
|---|---|
| Bin 1 | Current manure and bedding |
| Bin 2 | Active hot composting |
| Optional Bin 3 | Curing/mature compost |
This rotational approach is especially useful with a flock because manure production never really stops. Instead of asking when “the compost pile” will be finished, you create a continuous system in which different batches occupy different stages.
Common Chicken-Manure Composting Problems
A pile that never heats is one of the most common frustrations. Before adding random ingredients, check the basics. The pile may simply be too small to retain heat, too dry for microorganisms to remain active, excessively carbon-rich because of large amounts of bedding, or poorly mixed.
A wet, foul-smelling pile has the opposite problem. Excess moisture removes air spaces and slows aerobic composting. Turning the pile and mixing in dry carbon material usually improves both structure and moisture balance.
Persistent ammonia odor suggests excess nitrogen is escaping rather than remaining within the composting system. Adding more carbon and mixing thoroughly can reduce that imbalance.
Another common mistake is ignoring the pile after it heats once. The center may reach an excellent temperature while the material along the edges remains much cooler. Turning is what redistributes the material and helps more of it pass through the active zone.
Finally, do not skip curing because the material looks dark. Stability matters as much as appearance. Compost that still reheats strongly after turning and moistening is still actively decomposing and deserves additional time before routine garden use.
Why Chicken Manure Compost Should Be Used in Moderation
Because chicken manure is nutrient-rich, it is easy to assume that applying a thick layer every year will continue improving the garden. Soil fertility does not work that way.
Manure-based composts can contain more phosphorus relative to nitrogen than garden plants need. University of New Hampshire Extension warns that repeatedly applying enough manure or compost to satisfy nitrogen requirements can gradually push soil phosphorus to excessive levels. The excess phosphorus may eventually contribute to water-quality problems if it moves off-site.
This is one reason soil testing remains useful even in an organic or backyard garden. Compost improves soil organic matter and contributes nutrients, but it should not automatically be added at the same heavy rate every year regardless of existing fertility.
A thin layer of mature compost may be enough for many beds. OSU recommends approximately one-half to one inch of cured manure compost rather than a very thick blanket.
Producing compost from your chickens therefore does not mean every pound must immediately go into the vegetable garden. Finished compost can be distributed across appropriate landscape areas, stored properly, or applied according to actual soil needs.
Chicken Manure Composting at a Glance
| Stage | Main Goal | What to Watch |
|---|---|---|
| Step 1: Mix | Balance manure with carbon | Ammonia smell or excess bedding |
| Step 2: Build | Create moisture, size, and airflow | Too wet, dry, or compacted |
| Step 3: Heat and turn | Encourage decomposition and pathogen reduction | Temperature and oxygen |
| Step 4: Cure | Stabilize material before garden use | Reheating, smell, visible ingredients |
The process sounds more technical when every number is discussed separately, but the routine itself becomes simple with practice. Mix manure and bedding, keep the pile damp and aerated, monitor the heating cycle, turn it thoroughly, and then give it enough time to mature.
Final Thoughts
Chicken manure can be one of the most useful by-products of keeping a backyard flock, but its value comes from managing it properly rather than spreading fresh droppings directly onto garden beds.
Start with the material already leaving the coop. Dirty straw, shavings, feathers, and manure can usually be composted together, with additional dry carbon added when the mixture becomes too wet or nitrogen-heavy. Build enough volume for the pile to retain heat, maintain moisture without saturating it, and keep enough structure in the pile for oxygen to move through.
Then pay attention to what the pile is doing. A compost thermometer removes much of the guesswork during the hot stage. When temperatures peak and fall, turning redistributes the material, introduces oxygen, and gives the cooler outer sections an opportunity to move into the active center.
Most importantly, do not rush the final stage. Compost that has stopped looking like manure may still need time to stabilize. Let it cure until it becomes dark, crumbly, earthy-smelling, and resistant to reheating after turning and moistening.
Once that process becomes part of your coop-cleaning routine, chicken waste stops feeling like something you constantly need to get rid of. The bedding leaves the coop, moves through the compost system, and eventually returns to the property as stable organic matter for the garden.
For a backyard flock, that is one of the simplest ways to turn an unavoidable daily by-product into something genuinely useful.